HARDTOP SCREEN BONDING PROCEDURE
Document Number: SS97
Author: Thomas Sloan Kirton
Date Created:
Revision Number: v1.0.0
Document Approved by:
NOTE. Document is uncontrolled if printed
All instructions in this manual must be adhered to for this stage. Read all instructions carefully and study the photographs. While learning this procedure, quality of work is more important than speed of assembly.
Tools Needed:
- x4 2mm spacers
- x1 cut windscreen nozzle
- Teroson Bond Windscreen Adhesive PU8598 HMLC
- Teroson Bond Primer PU8519 P
- Lining Tape
- Low Tac Masking Tape
- Protective Gloves
- Panel Wipe P850 – 1402
- x2 Glass Mounting Suction Cups
- Mask
- Glass Stand (for prepping)
- Smoke Machine

Clean surface down with panel wipe P850-1402 and let dry.
Place lining tape where indicated in light blue on the diagram.
Use Image for reference

Place masking tape on the hardtop where indicated in light blue on the diagram.
This is to protect from overspill of the adhesive promoter.
Use Image for reference

Place masking tape on the screen where indicated in light blue on the diagram.
This is to protect from overspill of the adhesive primer.
Use Image for reference
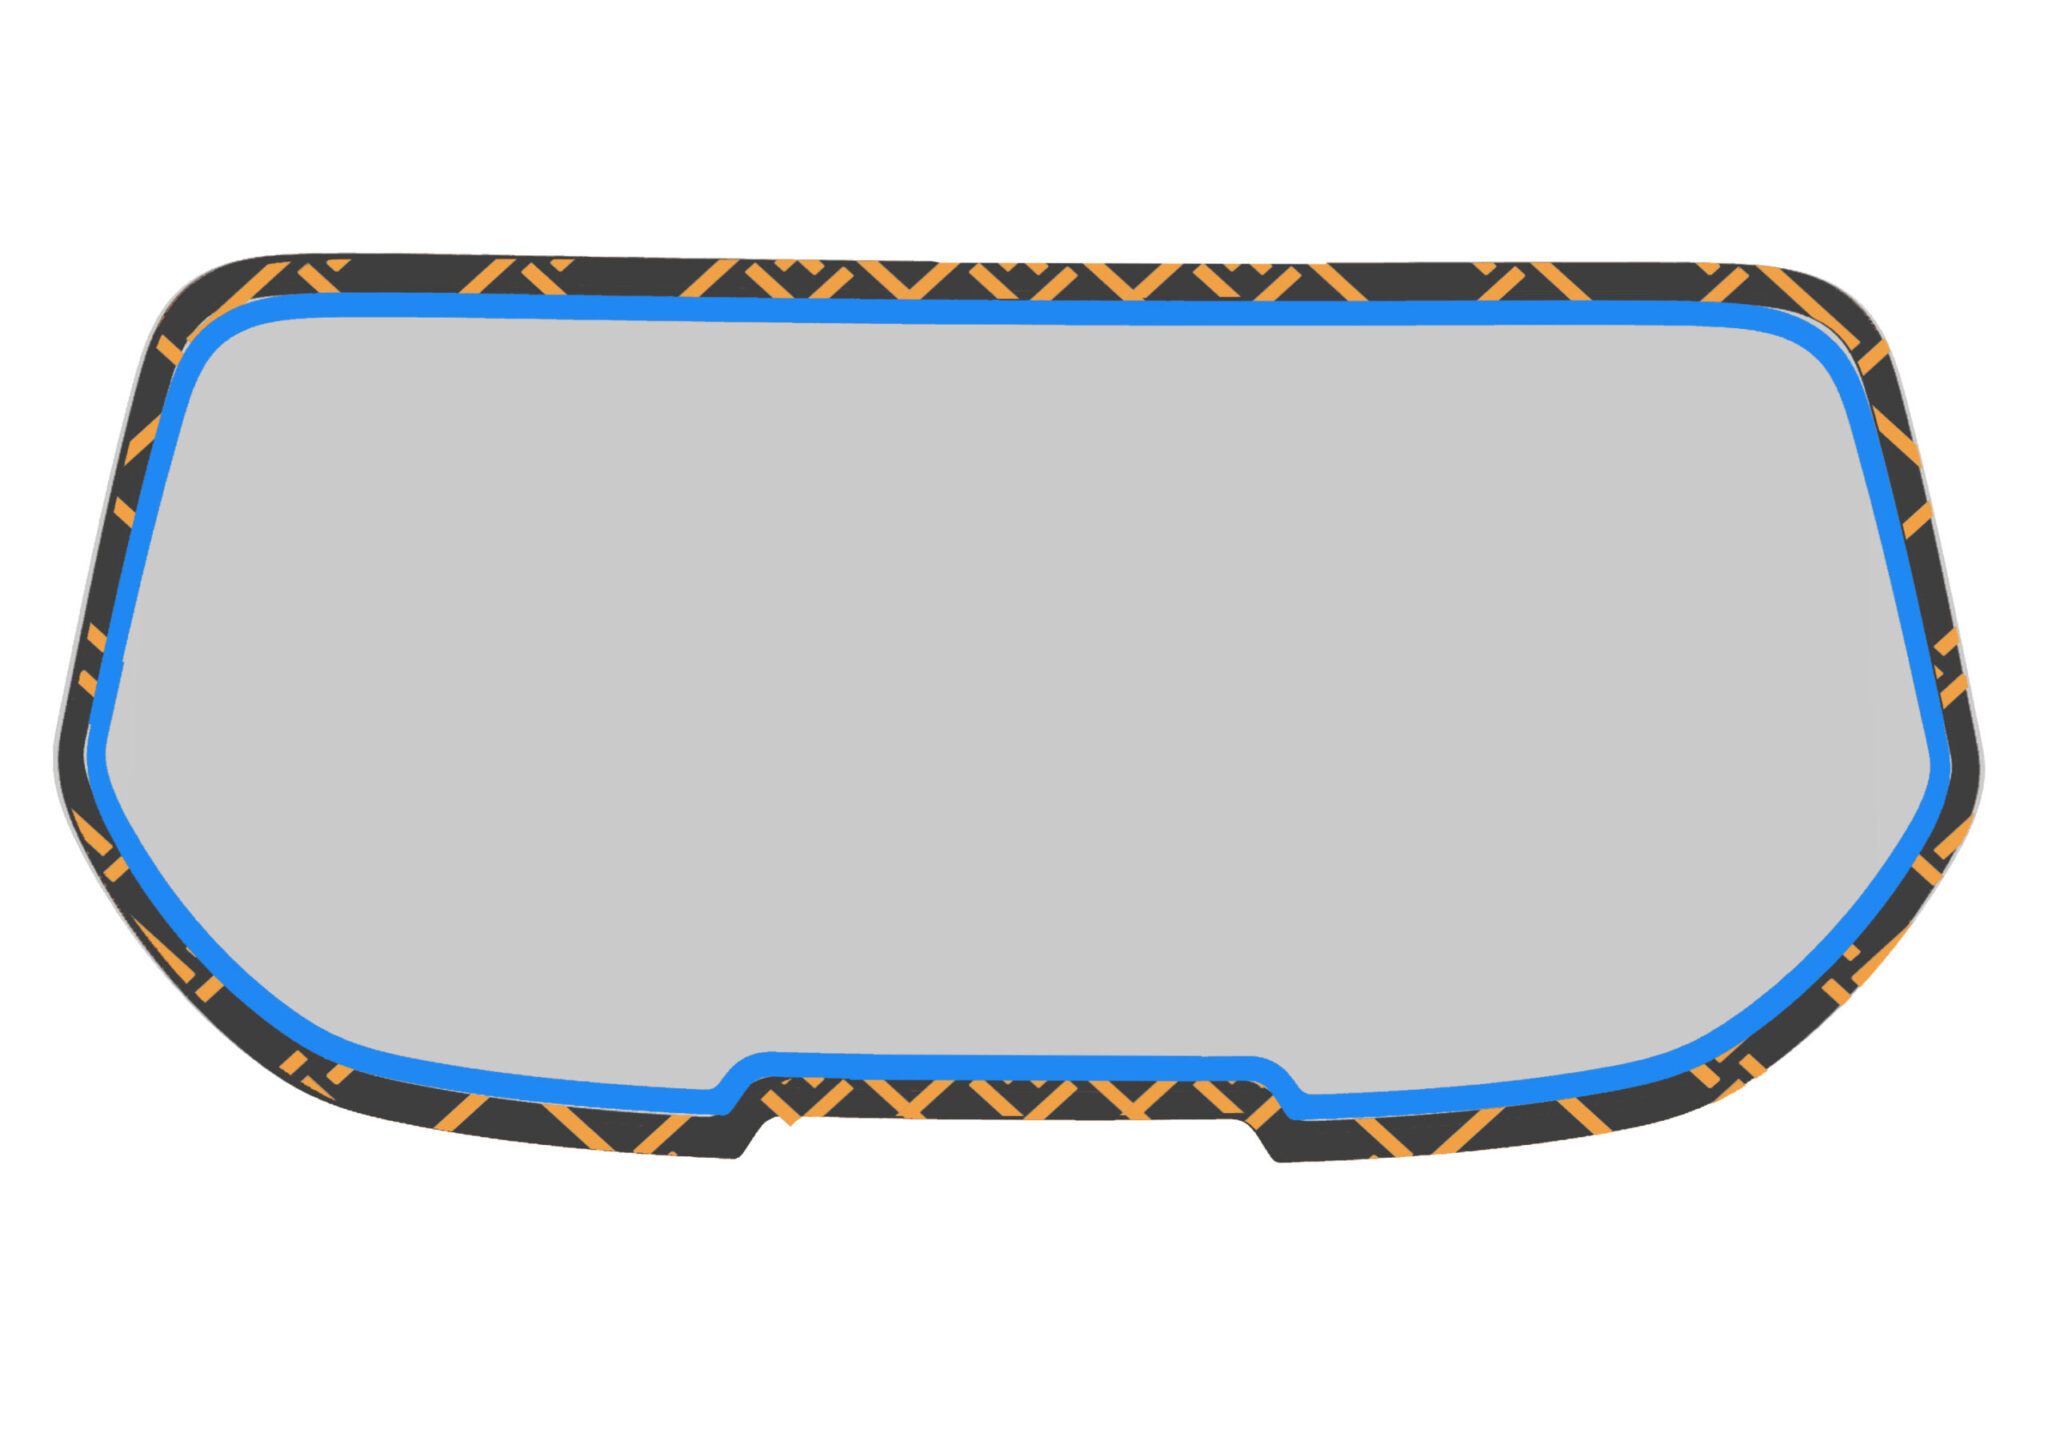
Clean down the surface crosshatched with panel wipe P850-1402.
Apply an even layer of Teroson Bond Primer PU8519 P on the crosshatched area.
Use Image for reference
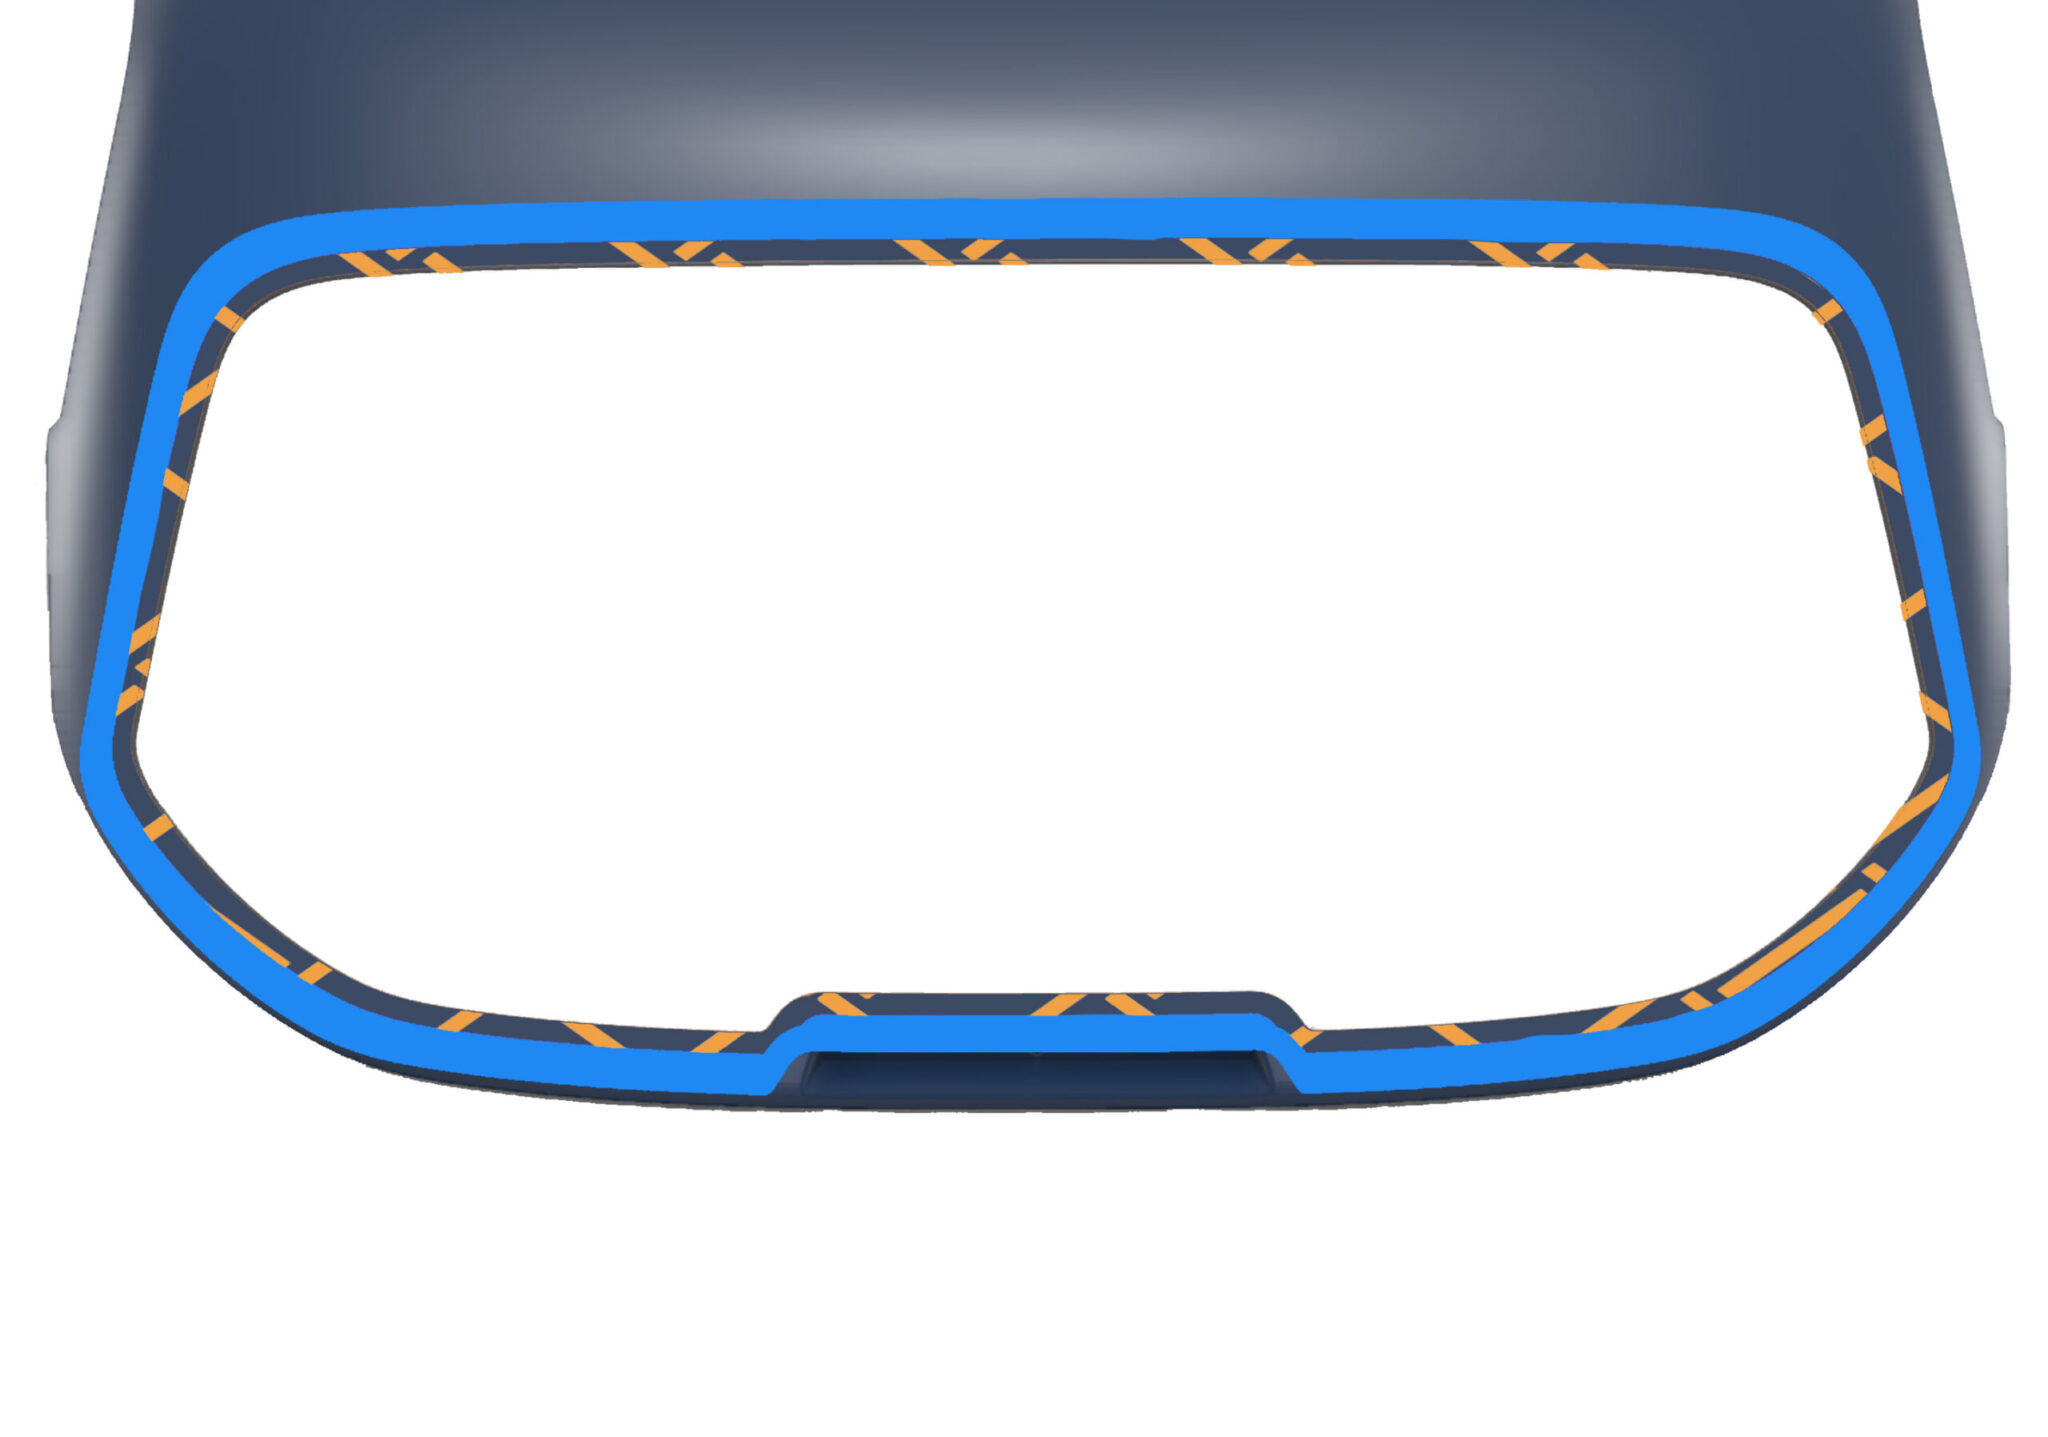
Clean down the surface crosshatched with panel wipe P850-1402.
Apply an even layer of Teroson Bond Primer PU8519 P on the crosshatched area.
Use Image for reference
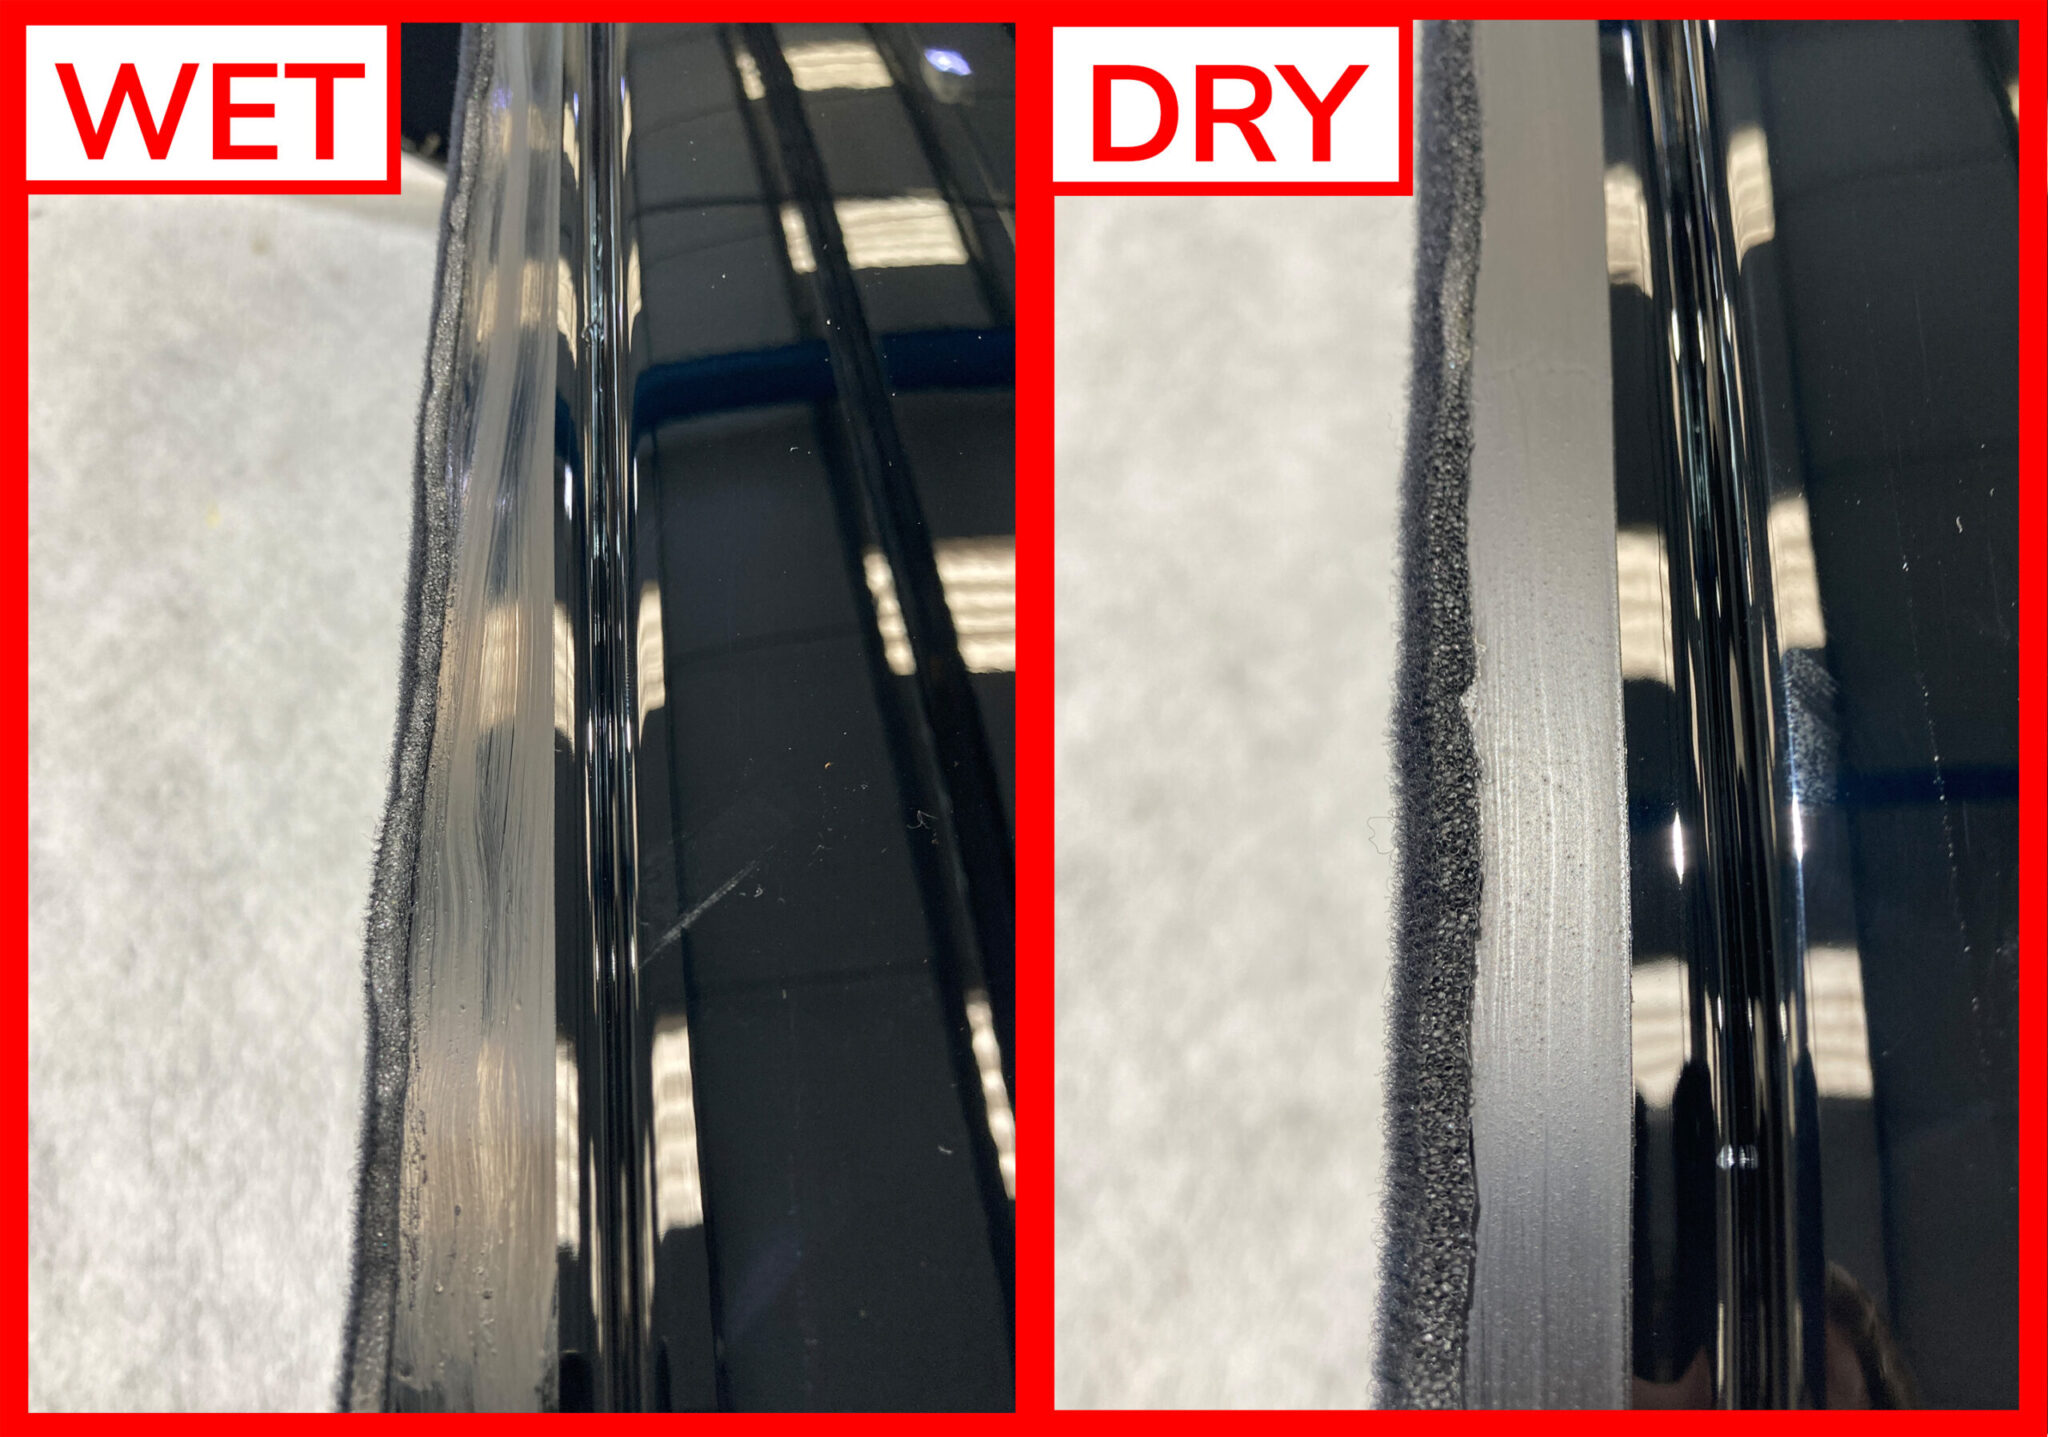
Wait at least 5 minutes for the Teroson Bond Primer PU8519 P to fully dry.
You will know when it is fully dry as the primer will go matt in finish.
Use Image for reference
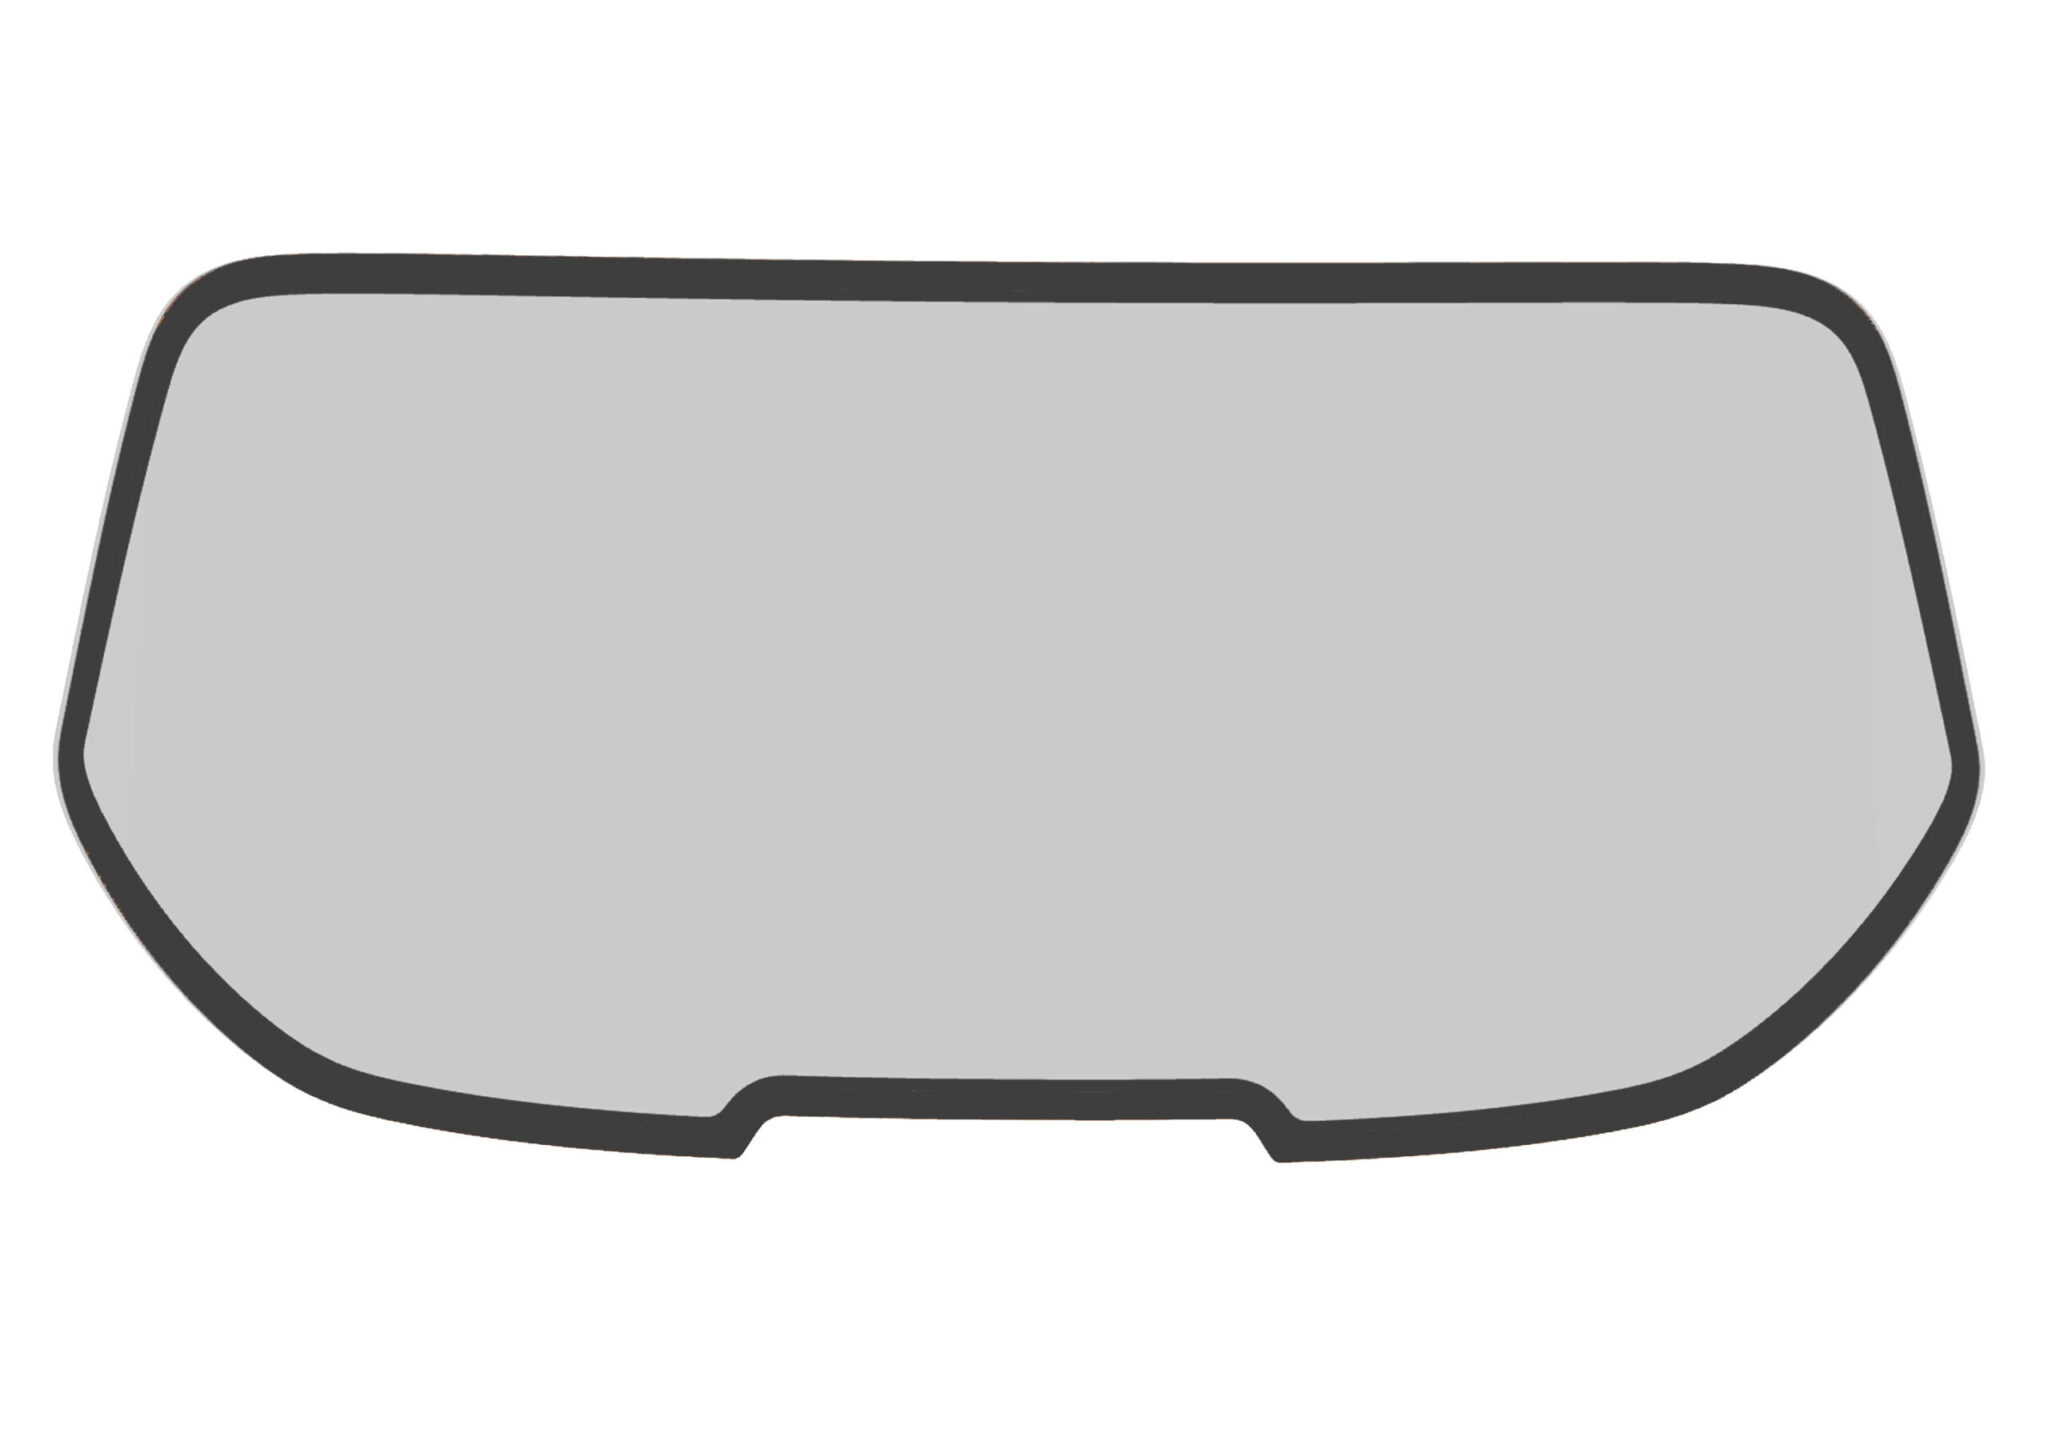
Once the primer is dry, remove all tape from both the hardtop and the screen.
Use Image for reference
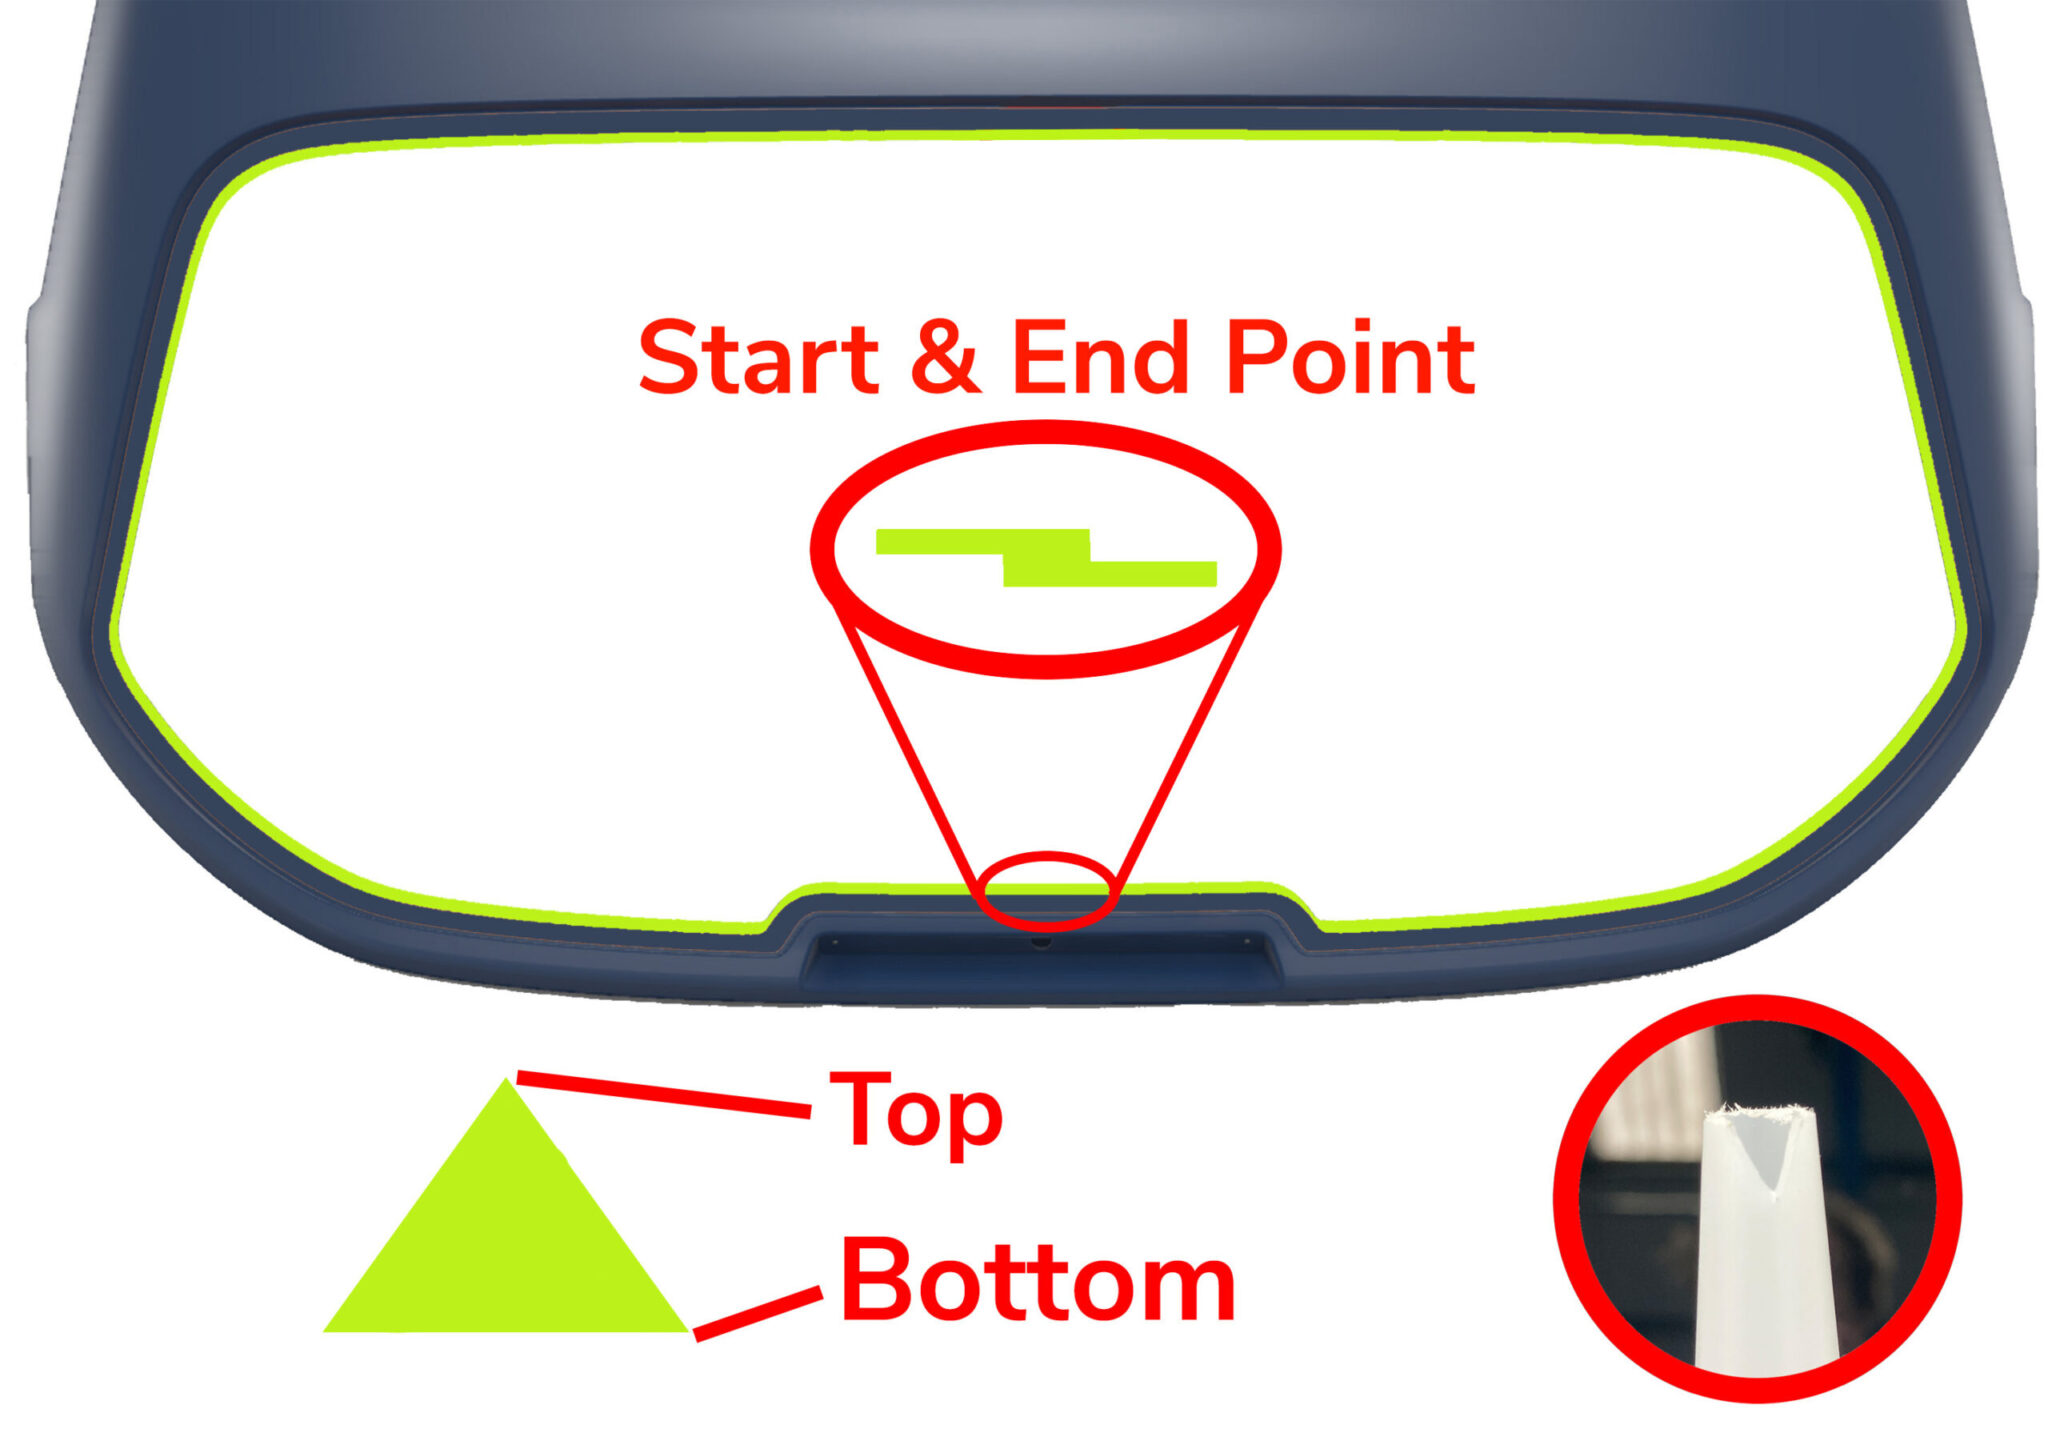
Ensure the nozzle has the triangle cut-out at the top of the pneumatic gun. This will produce the required triangle bead of adhesive on the hardtop.
Apply Teroson Bond Windscreen Adhesive PU8598 HMLC in the areas shown in green in one consistent application line.
Ensure both your start and end points overlap as seen in the diagram.
Use Image for reference
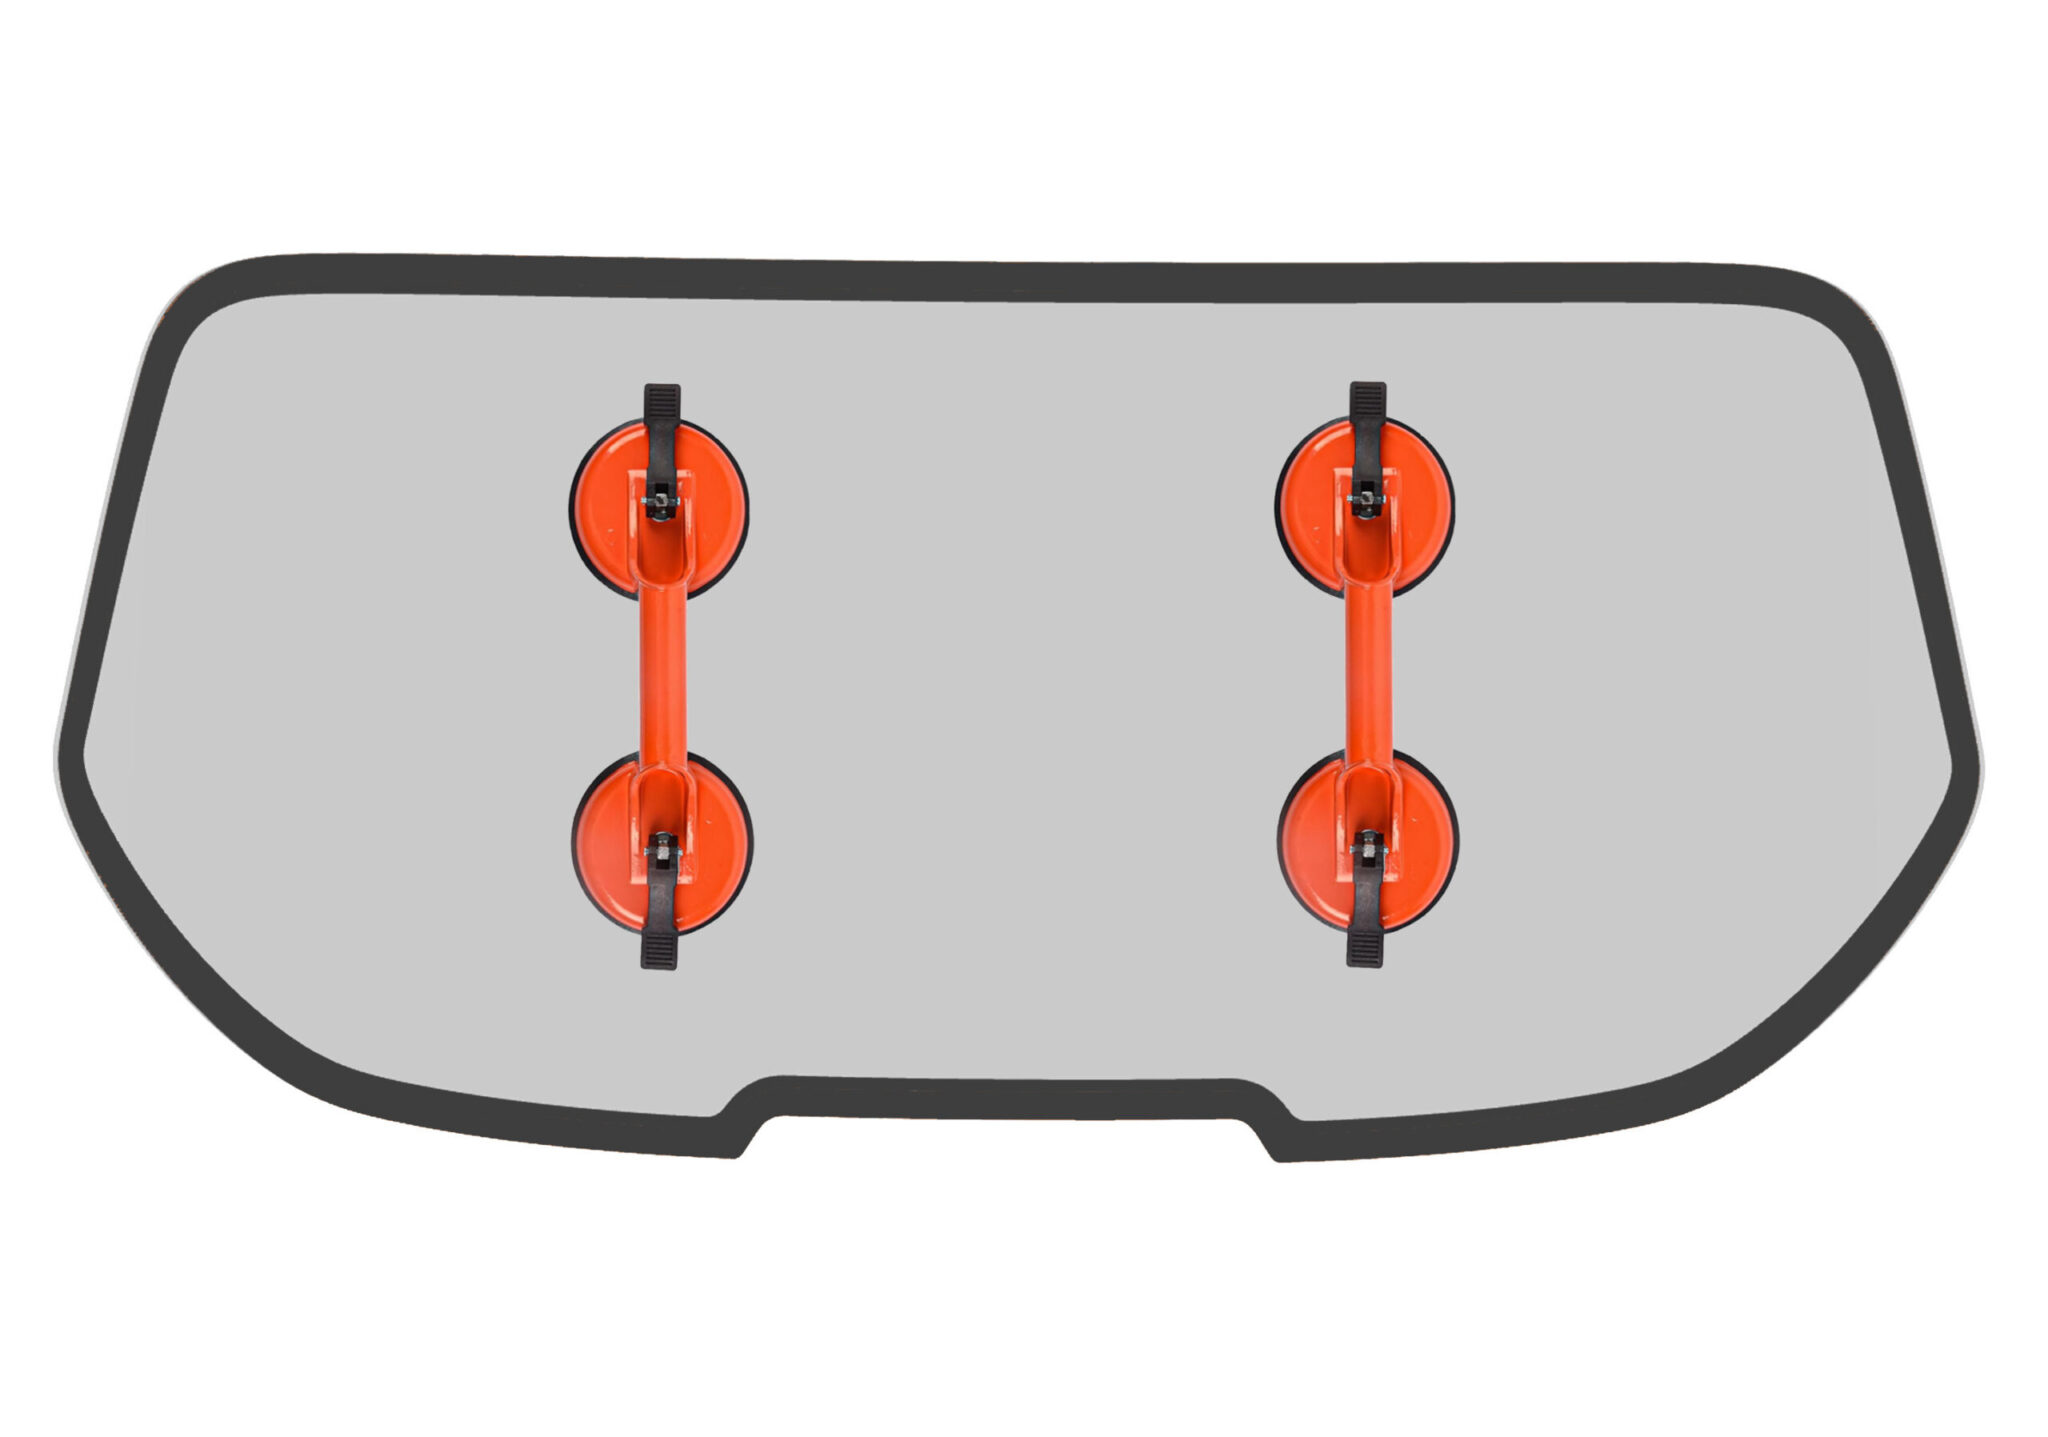
Apply the two glass applicator handles to the screen and place on to the adhesive applied to the hardtop.
Use Image for reference
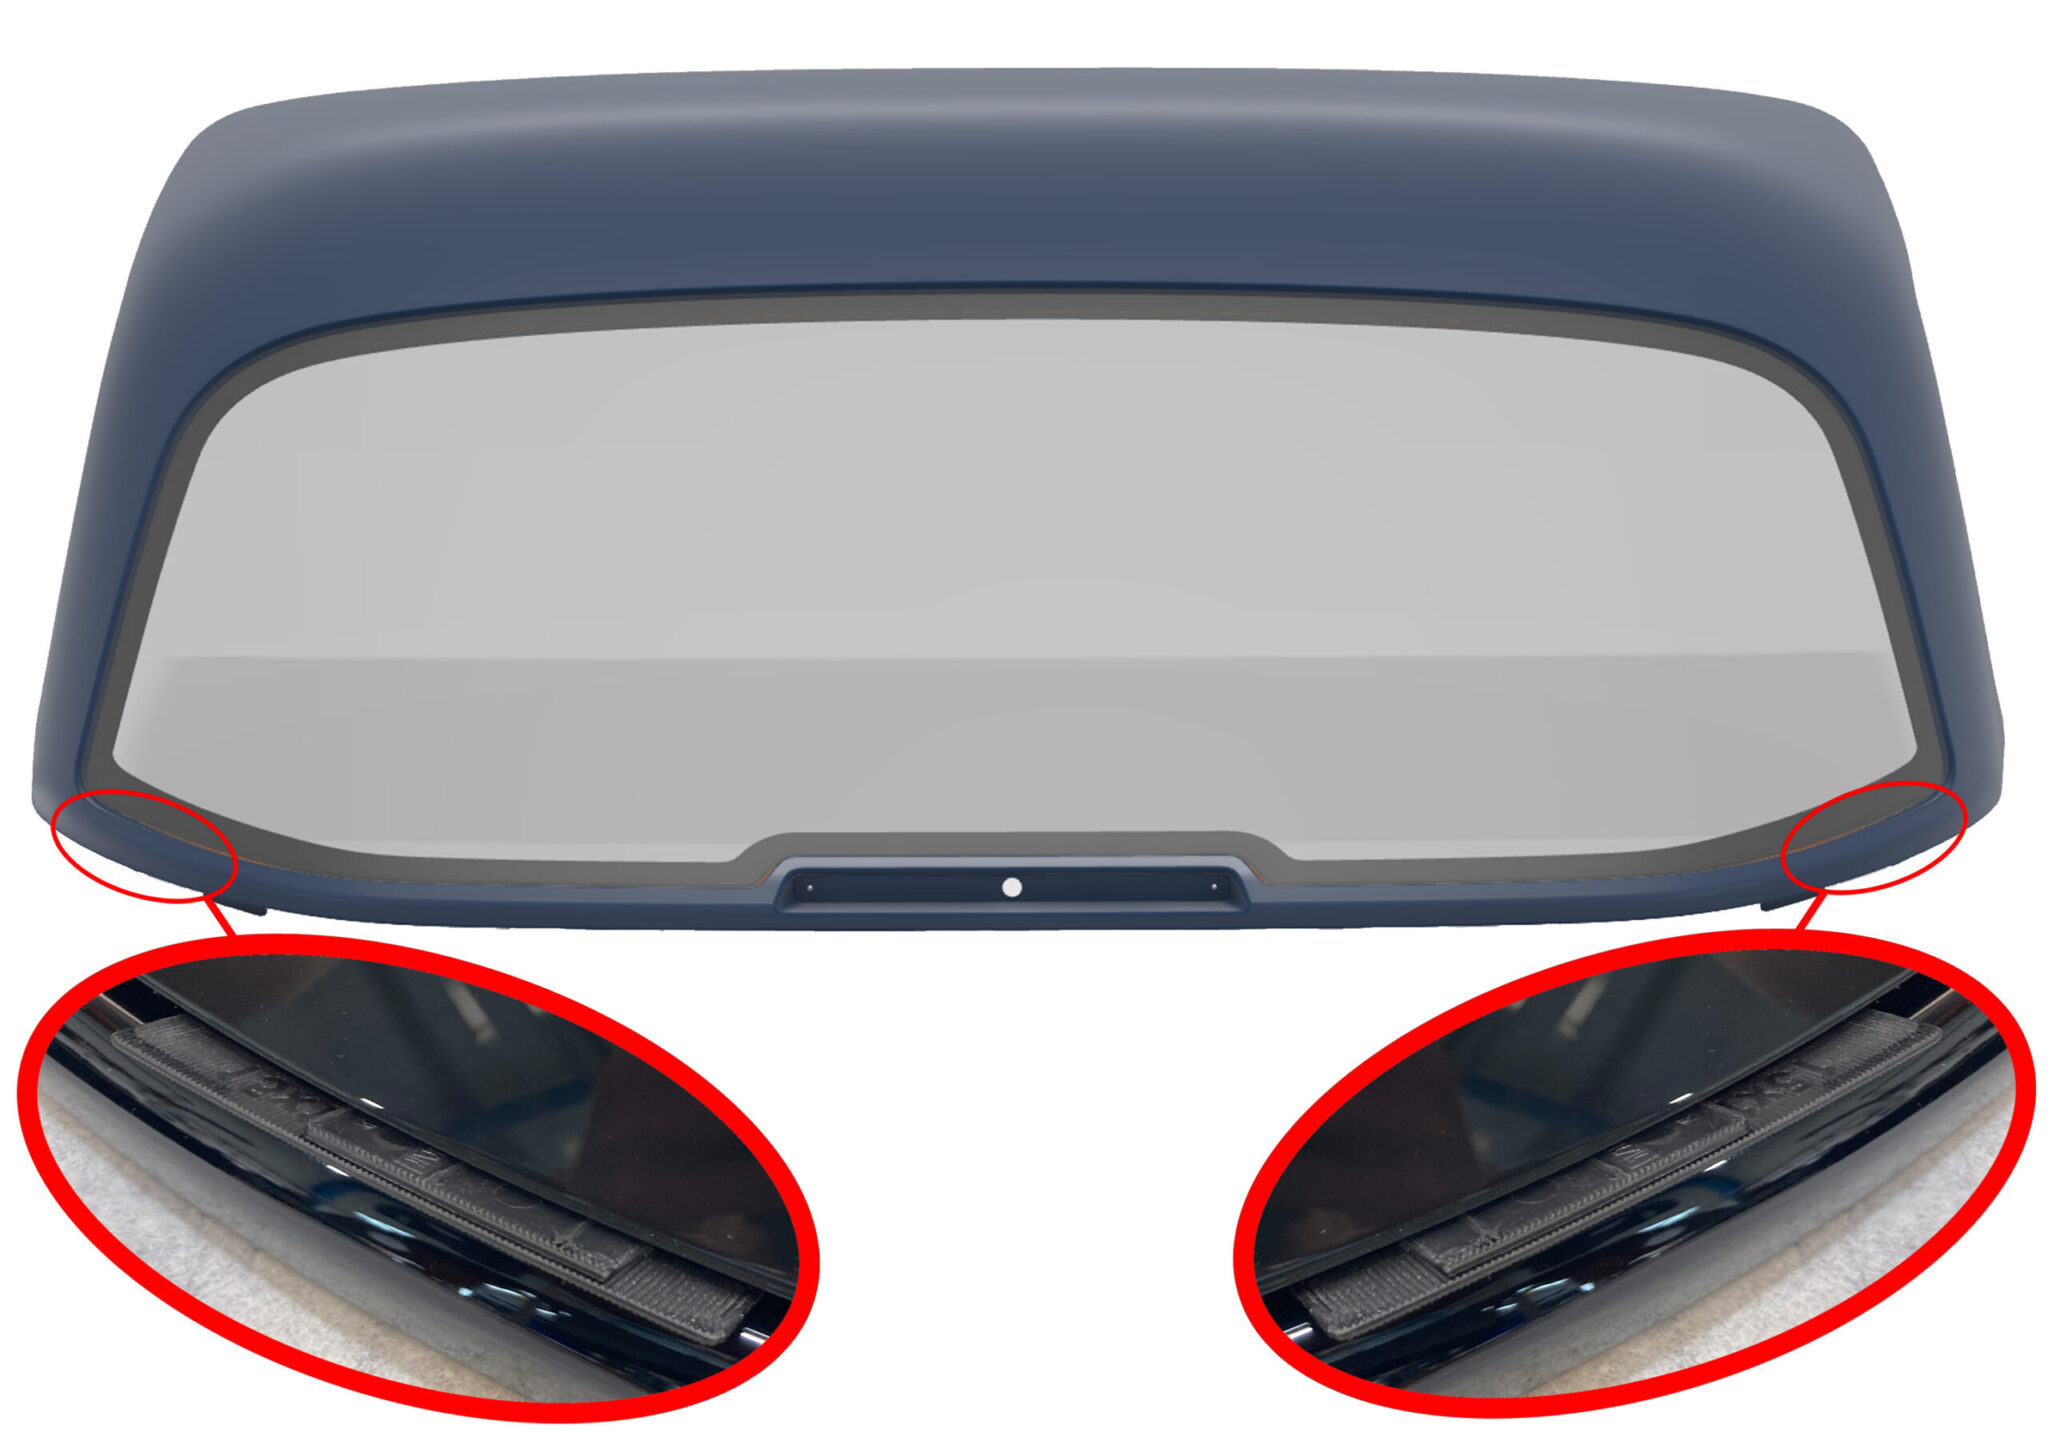
35mm from the start of the side radius space the screen by 4mm each side.
Ensure that an equal and consistent gap is seen around the edges of the screen to hardtop relationship.
Use Image for reference
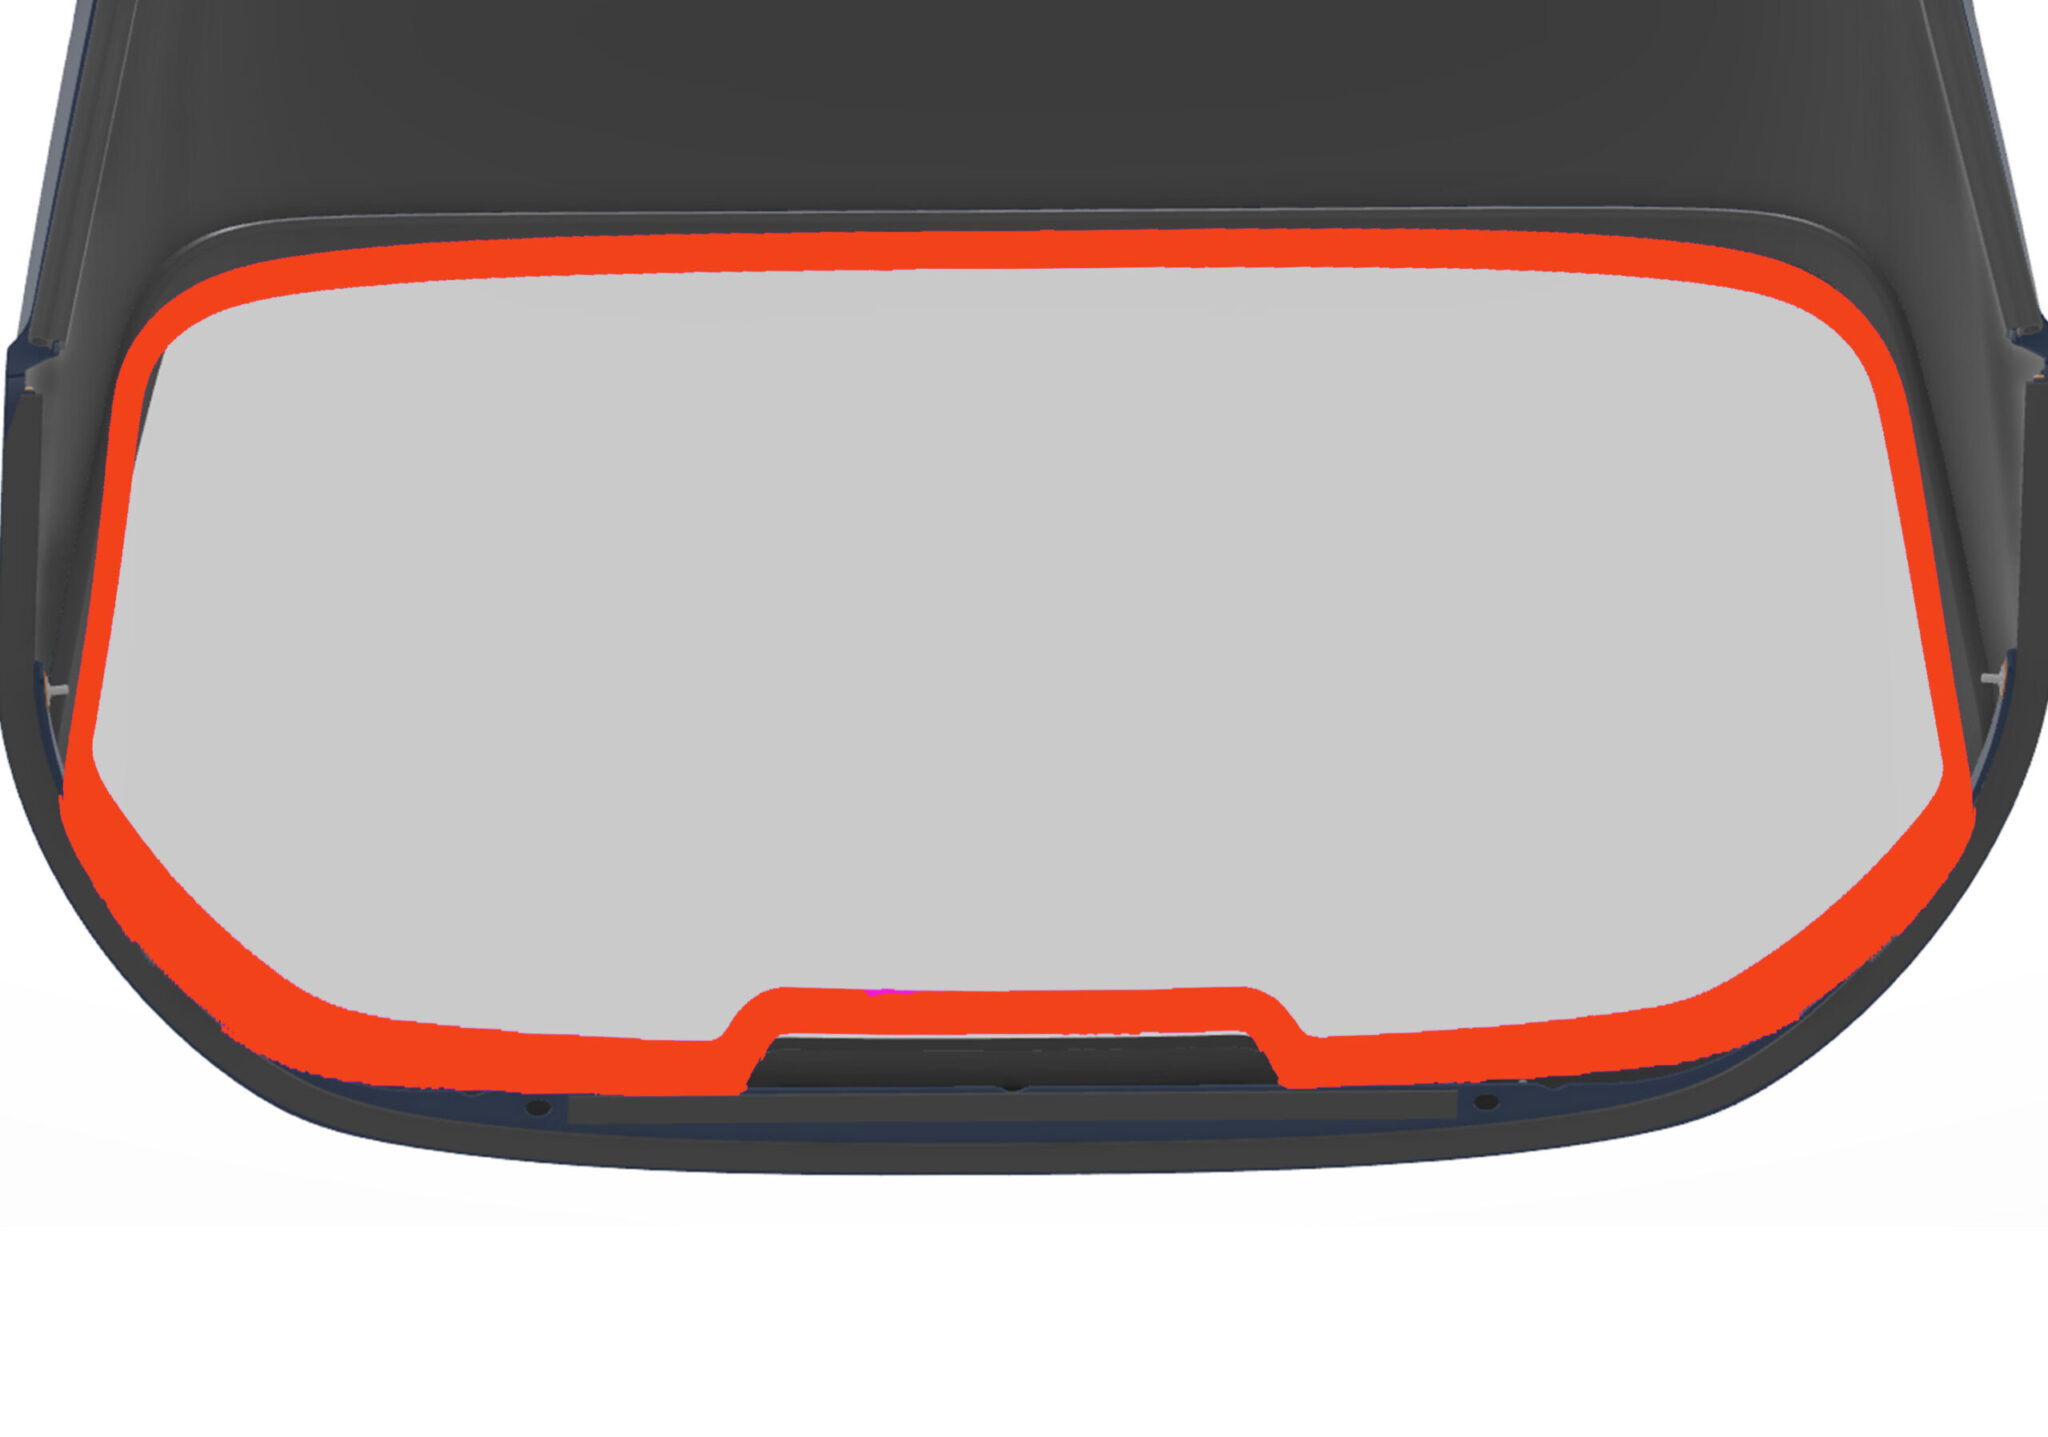
Use the smoke machine probe on the inside of the assembly. Run around the bonded edge and ensure that there are no leak points.
If a leak pathway has been found, use a thin nozzle & pack the localised area with Teroson Bond Windscreen Adhesive PU8598 HMLC.
Once the assembly has passed the smoke probe test, mark the assembly with a pass sticker.
Use Image for reference
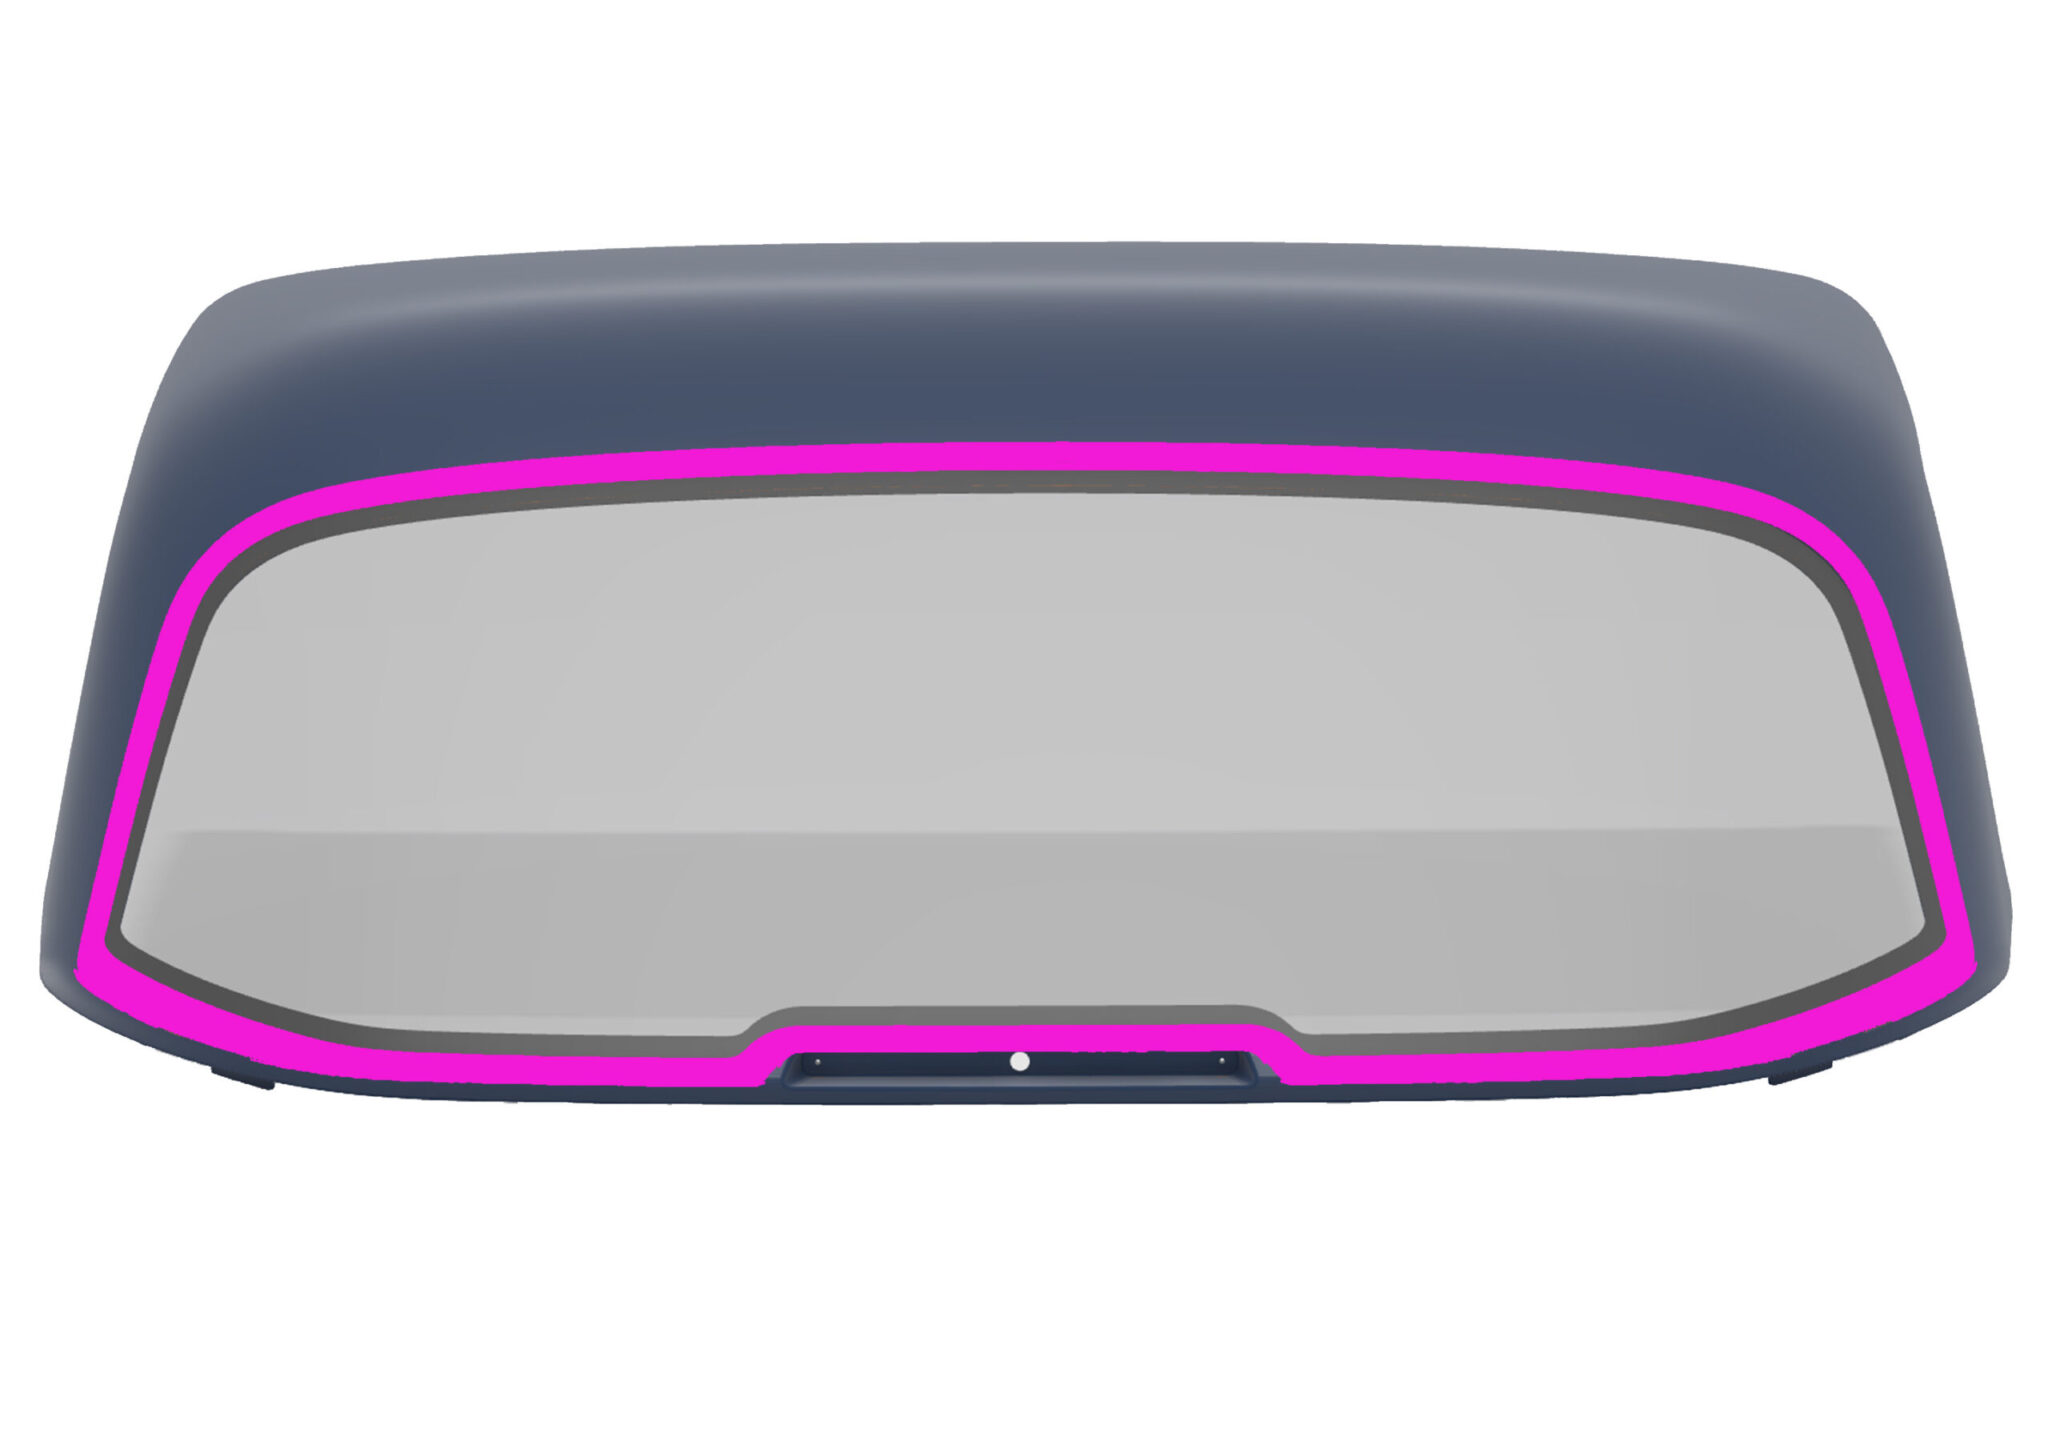
Assess and clean up any overspill or smears of adhesive from the bonded assembly.
Start by taking the larger amounts off with a spreader and then follow up with panel wipe P850-1402.
Use Image for reference

Once all excess has been cleared, masking tape in the areas highlighted in blue.
Sign, date and time stamp the tape as this will give an indication of how long the assembly has left in its curing cycle.
Use Image for reference

Flip the assembly 180 degrees.
Assess and clean up any overspill or smears of adhesive from the bonded assembly.
Start by taking the larger amounts off with a spreader and then follow up with panel wipe P850-1402.
Use Image for reference
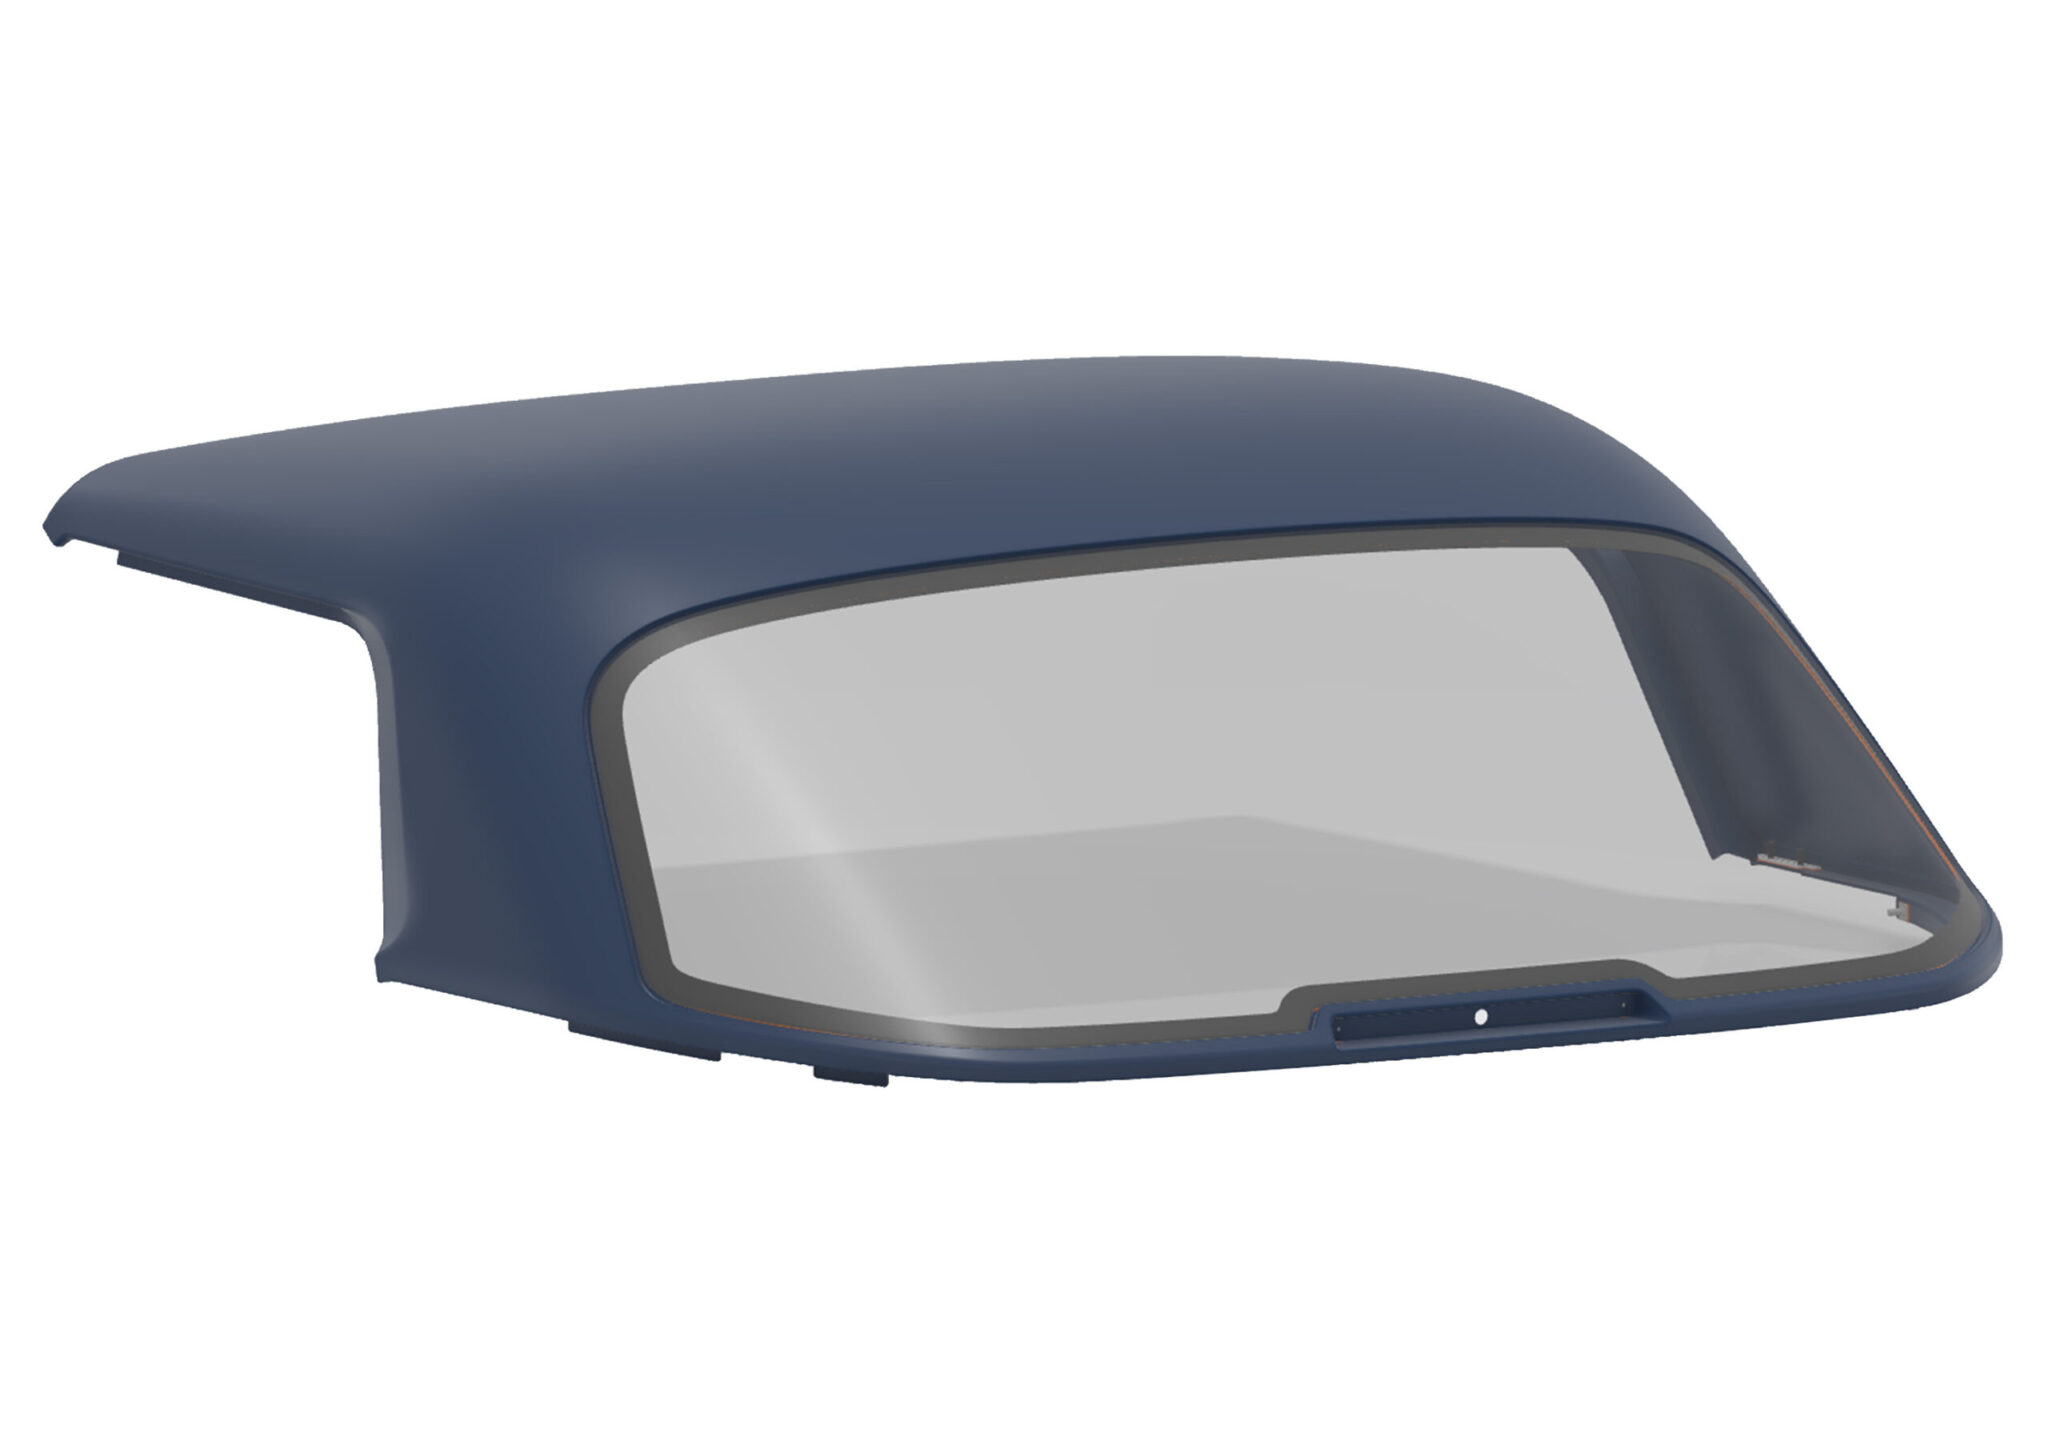
Leave the assembly to set for at least 1 hour before handling.
Assembly Complete.